Stock & Noble
Top Reasons Why Paint Won’t Work on Your Timber Fence.
- BY Tripti Kakkar
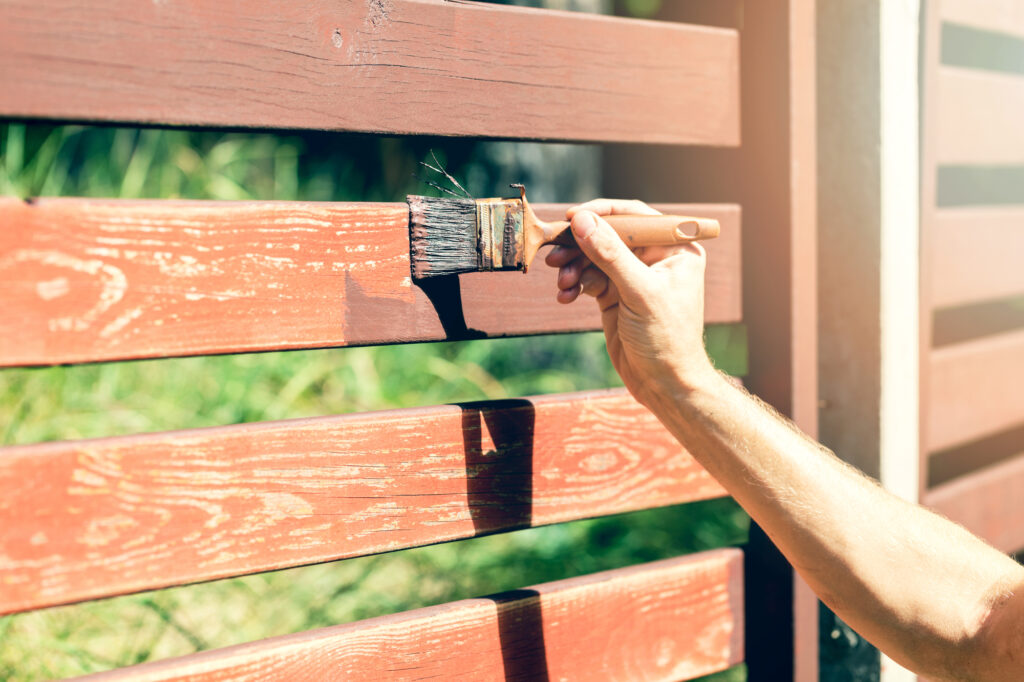
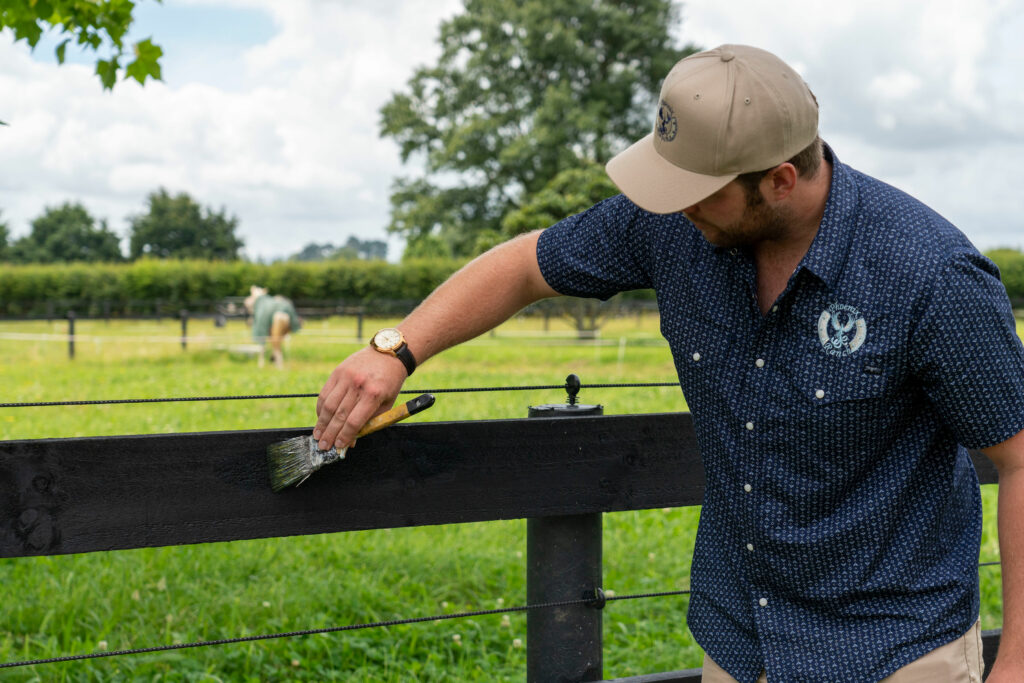
You wanted to give your timber fences a fresh new look and life with paint. You did all the research, chose the finest fence paint, and applied the recommended primer, but the paint has already started to peel off leaving your fences looking in need of recoat sooner than you expected or wanted. If this has happened to you or if you are keen to avoid this happening on your property, then keep reading.
At Stock & Noble, we provide the finest fencing solutions to high-end property owners across Australia and New Zealand. Over the years we’ve helped numerous clients create signature properties with our premium range of paints and have learnt the dos and don’ts of painting timber. Based on our learnings, we know that our exclusive range of primers, paints and stains will give you a lasting and beautiful finish, however, if they ever fail to meet your expectations there is a good reason.
In this blog, we will discuss the top reasons why the finest paint might not work on your timber fence. Painting is a tough job, especially on large properties and recoating too soon is no fun at all.
So, before you begin your painting project, make sure you’ve taken a good look at the checklist below. It’ll help you make the best use of your time, energy and resources. Most importantly it’ll ensure you get beautifully painted timber fences, elevating the look of your entire property just as you imagined.
Reason#1: Has Your Timber Hasn’t Been Weathered Enough
Timber is a natural product, and we need to respect the time it needs to be ready for the fence paint. Naturally occurring tannins or moisture in timber must be completely dried before you begin your painting project. (Tannins are acids that can dissolve any applied product, leading to poor adhesion.) Also, different types of timber need to be weathered for different periods. So, a one-time frame doesn’t work for all.
You need to first identify the weathering time based on the type of timber post and rail fence you have on your property. Here are some basic durations that might give you an idea of the wait times.
New Softwood Timber
This category of timber includes products such as Pine. It should be allowed to weather at least 4-6 weeks before painting. It helps the moisture and resin to leave the wood completely, thus ready for you to paint in the colour of your choice.
Hardwood Timber
You’ve surely spent quite a bit on this timber, and you don’t want to ruin the look by painting it incorrectly. So have some patience. It’s best to leave the hardwood uncoated for as long as possible until all tannins have leached out.
1. Oily Timber:
This includes wood like Kwilia, Tallowood and Blackbutt. They need to be weathered for a minimum of 3 to 6 months.
2. Dense Timber:
Timber such as Ironbark, Spotted Gum and Yellow Balau need a much longer weathering time of at least 6 months or even more.
Reason #2: Weathering Test Hasn’t Been Done
Once you’ve waited all the way based on your timber type, don’t assume that it’s ready for your paint. It’s time for the weathering test. It is a really simple way of checking whether timber has any moisture left in it or if is it now completely dry.
Here’s how to do your weathering test:
Apply water to the timber and observe.
- If the water is absorbed, the timber is ready for painting.
- If the water beads, the timber needs further weathering.
It’s that easy. So, take a moment and do this test rather than making all the effort and not getting the desired results.
Reason #3: Insufficient Surface Preparation
We bet you already know that the surface of timber has to be well-prepared and clean for the primer and paint to perform as expected. However, we also know it’s a tedious task and short cuts are often taken by many property owners. So DON’T do that. Put in the hard work now, to ensure your painting project is a success, and you can have years to relax before there’s any need to recoat.
- Properly preparing the wood is crucial. Whether it’s brand-new or old timber, ensure it’s clean and free of dust, mould, or sap.
- If the wood is old or weathered, it may need a special primer to help the paint stick
- Consider hiring a professional with a high-pressure water blast to clean the fences effectively. A pressure of 3000 PSI can remove the top layer of old, grey wood, revealing fresh, clean timber ready for painting.
We have specific resources that can help you in preparing your surface well for timber fence paints. Follow the pro tips and step-by-step process for a smoother and more enjoyable painting experience.
Reason #4: Painting in Unsuitable Weather Conditions
We understand that at times there’s an urgency to finish the project and you might end up continuing to paint in too hot or too cold conditions.
You might achieve a beautiful look initially, but unfortunately, that will last only for a short while. You will be left disappointed and doubt your choice of paint or application. However, it’s the weather to be blamed for a failed project.
Remember to paint in suitable conditions. Avoid high humidity levels, extreme heat or cold. All our paints, primers and stains are recommended not to be applied under 10 degrees Celsius. So, no matter which fence paint or primer you’re using for your timber post and rail, please follow the manufacturer’s instructions.
Reason #5: Not Mixing Paint or Primer Properly
This is also a common reason that leads to an inconsistent look and peeling of the paint. Before you start to paint, or prime the timber fence, stir or shake the paint right to its bottom as per the manufacturer’s instructions (Usually mentioned on the packaging). A simple step, when skipped will compromise your adhesion, colour consistency and the final look. So, while you’re putting in so much effort, don’t forget to do this simple one.
Reason #6: Applying Excess Fence Primer or Paint
We’ve noticed often during application excess primer or paint is applied assuming that more is equal to a more beautiful outcome. However, this isn’t true. When you go overboard with your fence primer, it might take much longer to dry and also won’t do its basic job of adhering to the paint. The result will be the chipped paint in the long run.
So, it’s best to follow the time-tested rule of applying a thin layer of primer and then two topcoats of good-quality fence paint.
Ready to Paint Your Timber Fences?
Did you find the reason why your paint didn’t match your expectations and are you now feeling much more confident to take up your next painting project?
Through this blog, you’ve gathered some of the most common mistakes made while painting timber fences. You can learn from these and achieve that perfect finish on your timber fences.
In summary, it’s important to know more about your timber and give it adequate time to dry up. Moreover, do the weathering test, prepare the surface well before painting and follow the manufacturer’s instructions for weather and number of coats. By following the tips outlined in this blog you can create a beautiful, long-lasting look that enhances your property’s appeal.
If you have any more questions, head to our Paint FAQ section and you can find your answer. However, if there’s something specific, you’d like to know about fence paints for your property and need expert advice, feel free to reach out to us. We’ll have a detailed conversation and help you create a beautiful property, just the way you imagined.


