Stock & Noble
6 Hacks to Install Steel Post and Rail Fence like an Expert.
- BY Tripti Kakkar

Whether you have an equine property, a commercial horse stud or a small acreage, installing a steel post and rail fence can be a great investment. It’s a sturdy and durable option that can provide you with years of beautiful fences, strong fence lines and hassle-free maintenance.
If you’ve just started your journey, it’s best to learn how to install Steel posts and Rail fencing in detail. As a next step along with knowing the installation process, it’s good to ensure that you follow the correct techniques and take some extra precautions to make sure that your fence lasts for years to come.
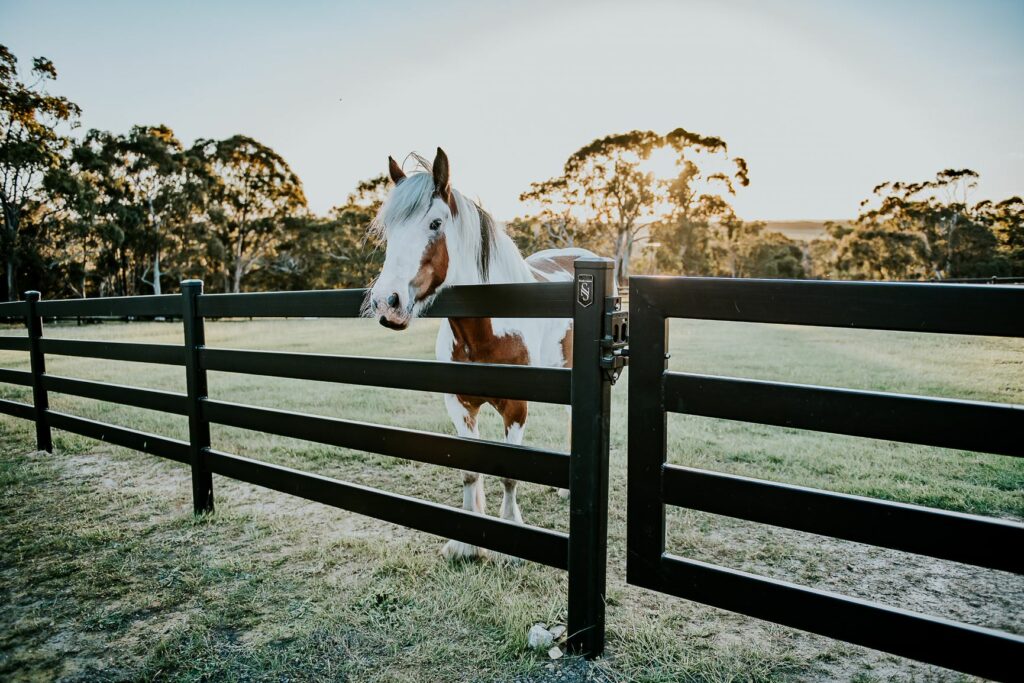
At Stock & Noble, we provide property owners across Australia and New Zealand with the finest fencing solutions. Buckley Steel Post and Rail fencing system is our flagship product, chosen for its proven global success, high safety standards and beautifully engineered design.
We are experienced in every aspect of installing Steel post and rail fencing and would like to share our knowledge with you to help you get the best out of your Cattle Rail, Pre-powder coated Cattle Rail and Buckley fencing.
In this blog, we’ll share 6 hacks and best practices for installing a Steel Post and Rail fence like a pro. In the end, you will be well informed on the things to do and mistakes to avoid for the smoothest installation.
Tip #1: Size of the Hole You Drill for the Post
When installing a steel post and rail fence, the size of the hole you drill for the post is essential. It’s always better to drill a slightly larger hole than a smaller one. A larger hole gives you more flexibility and allows you to adjust the spacing between the posts accurately.
With Premium Steel Post and Rail Fencing, we found 300mm to be a practical size for the hole.
Tip #2: Gate Opening to Be Chosen Carefully
To ensure that the fence line blends in where the gates are installed, it’s important to choose the gate opening carefully or in some cases, potentially build up the ground.
If possible, select a flat section of the fence line for the gate, as the gate must hang level to maintain a consistent look with the rest of the fence line. While Buckley has a pre-designed gate that matches its post and rail look, for a Cattle Rail style fence, custom-built gates are often used.
Some fencing contractors make gates on site, this allows the gate to be made at the time to suit the opening. This option also creates an even gap under the gate, where the top of gate is level with the top of fence line resulting in a uniform appearance.
Tip #3: Spacing Jig
When installing a steel post and rail fence, using a measuring or marker jig to mark the correct spacing between each post is an excellent idea.
It’s better than using a tape measure because it ensures that the posts are evenly spaced out, making the rail installation process more efficient.
Tip #4: Place Your Fence Material at Intervals Along the Fence Line
Instead of having all your fence material at one end, place it at intervals along the fence line.
This will make for a more efficient installation as you reduce the amount of walking that is done between materials and fence erection.
Tip #5: Prime Cut Ends and Welds for Extra Protection Against Rust
If you are using Cattle rail or Pre-powder coated Cattle rail and it needs to be cut down to suit a custom opening, it is recommended that the cut ends are primed. This will provide extra protection against rust an ensure that your fence lasts longer. Additionally, if you are welding your Cattle Rail Post and Rail fence it is essential that the welds are painted with a Cold Gal coating for a lasting protection against rust.
This step isn’t needed when installing Buckley Steel Post and Rail fencing, since it’s an engineered system with pre-drilled holes where the rails simply slide in. There’s no welding or cutting involved unless there is a custom size panel, some rails may need cutting and ends primed.
Tip #6: Read the Installation Manual
While this step may feel obvious, in our experience some installers and owners tend to skip it. This might result in faulty installation and even render the warranty invalid.
So before installing your steel post and rail fence, it’s crucial to read the installation manual carefully. It will provide you with all the necessary information and instructions to ensure that your fence is installed correctly and that your warranty stays valid.
Are you confident to install a Steel Post and Rail fencing on your property?
Installing a steel post and rail fence can be a wise investment for any property owner looking for a durable and low-maintenance fencing option. However, it’s crucial to ensure that the installation process is done correctly to avoid issues down the line.
Following the six hacks outlined in this blog, including drilling the correct size hole for the post, choosing the gate opening carefully, using a spacing stick, placing fence materials at intervals, priming cut ends and welds for extra protection against rust, and reading the installation manual, can help you install a steel post and rail fence like a true expert.
With the right installation techniques and precautions, a steel post and rail fence can provide a beautiful and long-lasting solution for any property. Once the installation is completed, it’s important to know how to maintain your Premium Steel Post and Rail fencing well to keep it looking gorgeous, forever.
If you are building your dream equine property and have any questions on Steel post and rail or need assistance with the installation process, feel free to reach out to one of our fencing experts. We will answer all your queries and help you every step of the way to create a safe and beautiful property, that matches your vision.


