Stock & Noble
How to build a Steel Post and Rail Fence (Cattle Rail)
- BY Tripti Kakkar

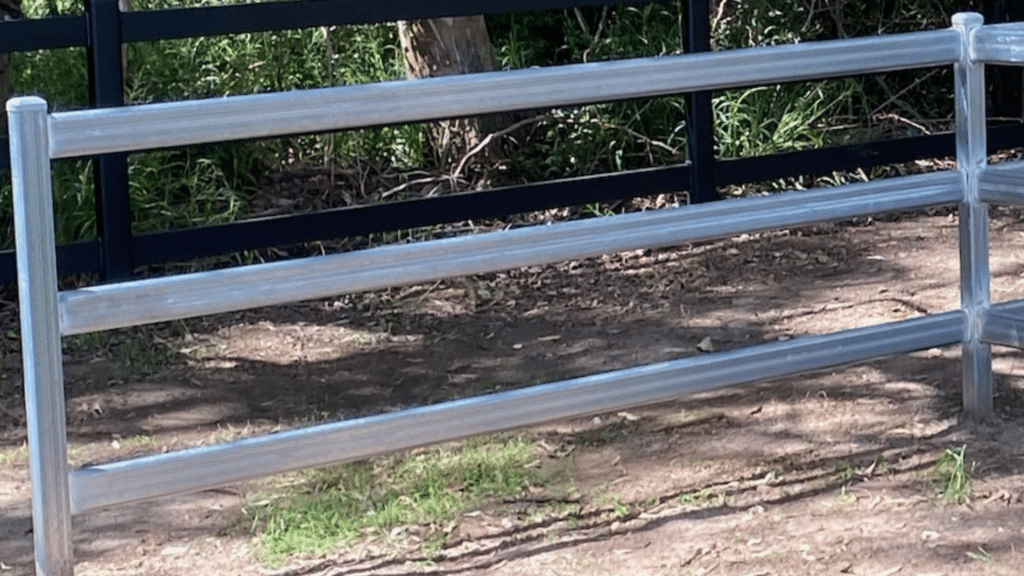
Cattle Rail or steel pipe fencing is a type of fence commonly used for agricultural purposes, particularly for enclosing livestock such as cattle, horses, and sheep. It consists of sturdy steel posts spaced at regular intervals with horizontal steel rails attached to them. The rails are usually welded or fixed to the posts with brackets.
If you’ve already looked at different Steel post and rail fencing options in Australia and chosen Cattle Rail then this article will help you avoid mistakes during the installation and ensure you get a durable and safe fence on your property.
Building a steel post and rail fence can be a great way to add durability and security to your property. It’s important to plan and follow proper installation techniques to ensure your fence lasts for years to come.
At Stock & Noble, we pride ourselves on delivering top-notch fencing solutions to property owners throughout Australia and New Zealand. Our team’s extensive experience in the industry has enabled us to master every aspect of creating a beautiful property using post and rail fencing.
Our expertise comes from successful projects, collaboration with fencing contractors, and insights gained from other professionals in the industry. Our flagship product is the Buckley Steel Post and Rail fencing, which is an engineered steel fencing system that we exclusively sell across the country.
In this blog post, we’ll outline the steps you need to take to build Cattle Rail fencing on your property. You will get a detailed walkthrough of the entire process, starting from selecting the most suitable materials and tools, to laying out the fence and securely installing the posts. Along with valuable insights on common errors to avoid and practical tips to ensure the success of your fencing project.
If you have a welder and tools at hand, you can take it up as a DIY project or if you don’t have prior installation experience, you can also choose to go ahead with a fencing contractor. These steps will help you gain an overview of what’s involved in installing Cattle Rail.
(It’s important to note that the fencing installer might choose a different process, which might include concreting the post instead of ramming it into the ground.)
Step 1: Gather materials and tools
Before you begin, you’ll need to gather the necessary materials and tools. Here’s what you’ll need:
Steel posts
Steel rails
Concrete
Post hole digger
Post Rammer
Shovel
Grinder
Wielder
Tamping bar
Level
String line
Tape measure
Pencil and marker
Safety gear (gloves, goggles, etc.)
Step 2: Map the fence out and estimate the material required
Using the tape measure and string line, measure out the area where you want to install your fence. Use a marker to mark the spots where each post will be placed. You can also use an interactive tool to help you at this stage.
Before you begin building the fence, it’s crucial to plan and estimate the amount of material required for the job. We recommend a 3-meter post spacing, and since the rails come in a 6-meter length, they need to be cut in half and placed between the fence posts.
Once you’ve determined the number of posts required and where they need to be placed, it’s time to get started on the installation process.
Step 3: Set up the fence line
Once you’ve worked out the material you need, it’s pretty much the same process as building a timber fence.
Start by placing your first post, which is the end post in the ground. Once your starting point is established, then run a string line along the path of the fence. At any change of direction or undulation, place another post. This will break the fence into smaller fence lines and ensure that it’s straight and levelled.
If the string line that you’ve set is between your starting point and the finish point, all of the intermediate posts will be at the same level. You can then use the top of the post as your finished level. This will make the rails level and look uniform.
Step 4: Mark the place for the posts
Now the fence line is established mark out where the intermediate posts are going to be placed. Work on a 3-metre spacing. Once this has been marked out set a string line to the finished height of the posts.
Step 5: Install the posts
You can now start installing posts. This is by ramming them in, starting at one end and working your way down the fence line making sure each post is rammed to the set height of the string line.
Step 6: Mark rail locations
Once the posts have been installed and are at the correct height, get a piece of timber and use it as a marker or template, hold it at the top of each post and mark out where your rails are to be attached.
Step 7: Install the rails
Cut the rails to the desired length of around 3 metres.
Once you’ve marked out where the rails go, you can either use the easy bracket or weld the rails to the post at the marked positions.
In the case of Buckley Steel Post and Rail fencing, it’s an engineered system and there’s no welding or cutting involved. Once the posts are installed and levelled, you can simply slide the rails into the pre-drilled holes on the posts and secure them with rubber grommets.
Step 8: Cleaning and Priming
Once the rails are in place, the next step is to clean the welds and apply a galvanised primer, so the fencing is protected from rust.
This step is not needed for Buckley Steel post and rail since there is no welding and consequent removal of the protective coating. The steel rails stay well-coated and protected from rust.
Once you’ve installed your fence, here are a few ways to consider protecting your steel post and rail fencing from rust.
Step 9: Add the finishing touches
The final touches of the fence include adding caps on top of all the posts. Caps are separate items but pre-manufactured and attached as friction fit and hit on with a hammer.
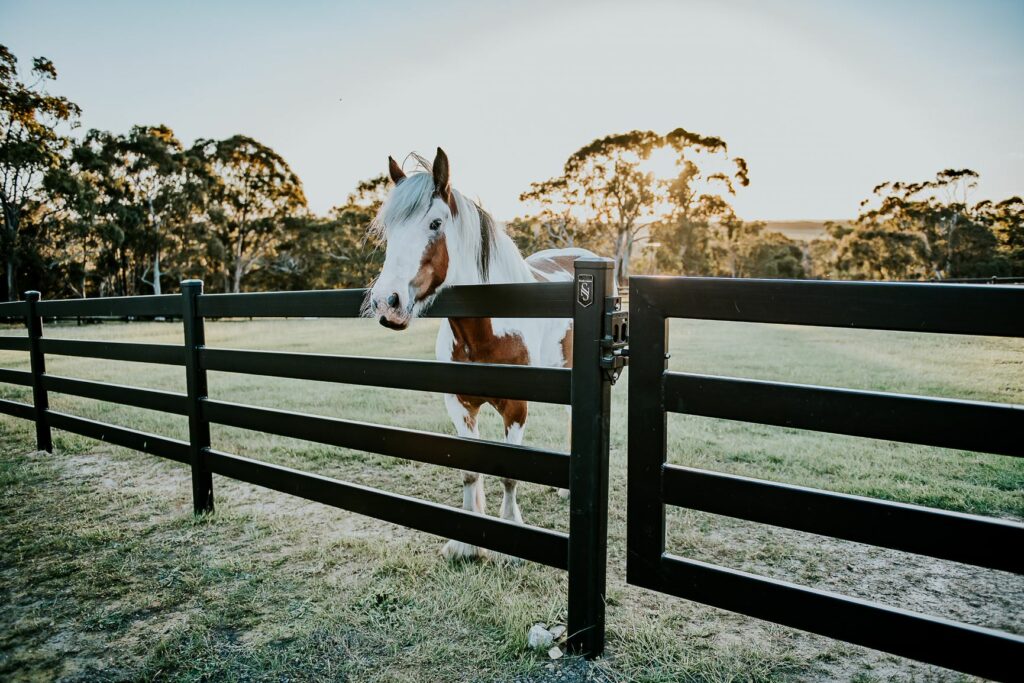
Once this is done, you can paint the fence to elevate the looks from a typical grey Cattle Rail to a nice premium black or any colour you want.
It’s advisable to use premium quality paint on steel as it’s a tougher surface that doesn’t absorb as well as timber. It’ll be worth learning about the best practices to paint your steel fences to make sure you achieve the look you want.
Another point to note is that Premium Steel Post and Rail (Buckley) comes with an architectural-grade powder coat and does not need to be painted, so you can skip this step.
Helpful Tips:
- Prioritise safety and wear appropriate safety gear when working with tools and materials.
- Ensure your fence meets local regulations and codes for compliance.
- Use high-quality materials to achieve the best outcome.
- For lengthy fence installations, consider renting a post-hole rammer or hiring a professional for assistance.
- Make sure your corner and end posts are of the same length above and below the ground. A 3-meter post is recommended.
- Adhere to Australian standards of galvanization for Cattle Rail fencing.
- Opt for a pre-cut Cattle Rail, if possible, to save time during installation.
Are you ready to build your Steel Post and Rail Fencing?
Building a Cattle Rail or Steel Pipe fence can be a great way to add security and durability to your property. By following the steps outlined in this blog post and using the proper tools and materials, you can create a fence that will last for years to come.
Cattle Rail is a sturdy fence that does require time, effort and planning to be installed and maintained. If you’re interested in getting Steel post and rail fencing for your property but have chosen Cattle Rail only for its cost, it’ll be worth learning about how you can achieve your dream fencing in your budget.
For more questions on installation, cost, or maintenance of steel post and rail fencing connect with one of our fencing experts. In a one-on-one consultation, they will answer all your queries and help you to create a safe and beautiful property.


