Stock & Noble
The Essential Tools for Installing Premium Steel Post and Rail Fencing System.
- BY Tripti Kakkar

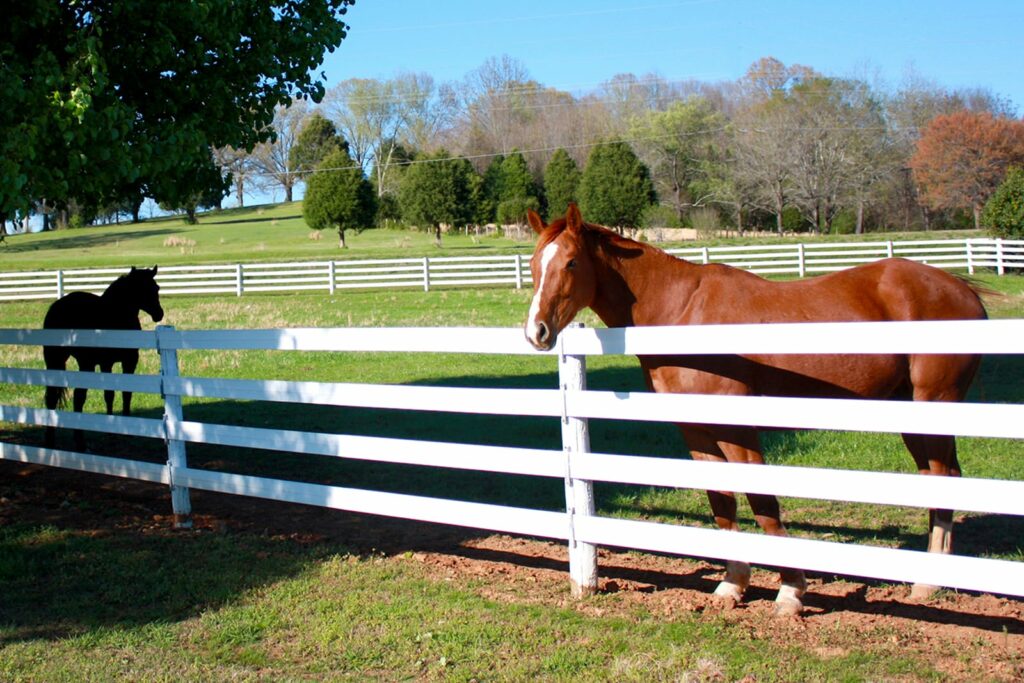
Are you ready to transform your property with a Stock & Noble Premium Steel Post and Rail fence?
First of all, congratulations on choosing a beautiful, strong and hassle-free fence for your property. However, no matter which fence it is, installation can be a daunting task, especially if you’re not armed with the right tools. The process requires precision and using the wrong equipment can lead to frustration, wastage of time, money and effort.
Whether you’re a DIY enthusiast or relying on a skilled fencing contractor, having the right tools is the key to a successful installation. We understand the concerns you might have about the installation process. The fear of making mistakes or facing unforeseen challenges can be overwhelming. That’s why we’re here to guide you on this journey.
At Stock & Noble, we provide the finest fencing solutions to high-end property owners across Australia and New Zealand. Premium Steel Post and Rail fencing (Buckley) is our flagship product and we’ve helped numerous clients build safe and beautiful properties using this solution. Right from choosing a fence to installation we’ve been there to guide them every step of the way. Armed with industry insights and knowledge gained from fencing contractors over the years, we’ve curated a comprehensive list of tools. They will help you tackle the installation with confidence, ensuring a strong and stunning steel post and rail fence.
Through this blog, we’ll explore the essential tools needed for installing a premium Buckley Steel Post and Rail fence. In the end, you’ll have all the information about the equipment required to make your fencing project a breeze.
Tools Needed for Installation of Premium Steel Post and Rail Fencing
1. Post Hole Digger: Laying the Foundation
The post-hole digger is key in creating stable holes for your steel posts. It ensures proper depth and width, establishing a foundation that guarantees the longevity and stability of your fence.
Pro-Tip: Consider the soil type before getting a post-hole digger. Some soil types could be very hard and might require a bigger machine.
2. Metal Cut-Off Saw: Precision in Every Cut
A metal cut-off saw is important for accurate cuts when shaping rails and trimming posts. Its efficiency ensures that each element fits seamlessly, contributing to the overall strength and aesthetic appeal of the fence.
Pro-Tip: Prioritise safety by wearing protective gear such as safety glasses and earmuffs while operating the saw.
3. Tape Measure: The Starting Point for Accuracy
A reliable tape measure is essential for accurate measurements, influencing the overall quality of the fence. From post spacing to rail length, precision begins with this straightforward yet crucial tool.
Pro-Tip: Double-check measurements to minimise errors and avoid wastage of materials. As the saying goes measure twice, cut once!
4. Rubber Mallet: Gentle Precision
The rubber mallet plays a key role in ensuring a snug fit without causing damage during the installation of rails and posts. Its gentle push is valuable for maintaining structural integrity.
Pro-Tip: Use the rubber mallet to tap components into place gradually, avoiding forceful impacts.
5. Spirit Level: Ensuring Straight Lines
A Spirit Level is needed to ensure straight posts, contributing to the beauty and stability of the fence.
Pro-Tip: Regularly check the level throughout the installation process, before and after adding concrete to holes to ensure accuracy.
6. Pliers: All-around Assistance
Pliers serve as versatile tools, assisting with tasks such as bending out the concrete anchor tab during the installation process.
Pro-Tip: Choose a pair of pliers that are comfortable to use for prolonged periods.
7. Wood Board for Spacing Gauge: Achieving Uniformity
A wood board cut to 2.8m serves as a spacing gauge, ensuring consistency between posts and contributing to the overall visual harmony of the fence.
Pro-Tip: Make the wood board approximately 2.9/3m long then add two small blocks 2.81m apart. This enables you to rest the gauge on top of the posts whilst making final adjustments to the post.
8. Concrete: Building a Solid Foundation
Concrete provides a stable foundation for the fence posts, ensuring they remain secure and upright.
Pro-Tip: Do not use rapid set concrete for installing Premium Steel Posts and Rail Fences.
Follow the right concrete mixing techniques to achieve the desired results.
9. String Line and Marking Stakes: Guiding Precision
String Lines and Marking stakes act as guides, helping to maintain straight lines and proper alignment during the installation process.
Pro-Tip: Use brightly coloured string for better visibility during the alignment process.
Ready to Install Premium Steel Post and Rail Fencing?
Armed with the right tools, you’re now equipped to install a premium steel post and rail fence that will enhance the beauty and safety of your property.
Make a checklist with these 9 materials and keep them ready before installing your fence. Whether you choose the DIY route or hire a fencing contractor, make sure to refer to this comprehensive tool guide for a successful fencing experience.
Once you have all the tools in place, the next step is to learn how to build your Premium Steel Post and Rail Fencing. Go through the step-by-step guide and detailed answers to frequently asked questions on the installation process. They will help you build your dream fence smoothly and be prepared for the challenges that might arise.
If you have any more queries about the cost, application, suitability or installation of fences, feel free to connect with our fencing experts. They will guide you through the entire process to create a safe and beautiful property, just the way you imagined.