Stock & Noble
How to build a Post and Rail fence? (Front facing)
- BY Tripti Kakkar

Post and rail fencing is an excellent option for creating a boundary fence, surrounding driveways, and rural properties due to its aesthetic appeal, customisable nature, and relatively straightforward installation process.
If you’ve already reviewed the cost of different post and rail fencing solutions in the market and have chosen to go ahead with Timber Post and Rail Fencing, then this article is for you. As once you choose and order your fencing material, the next step is to install it correctly and efficiently.
At Stock & Noble, we provide the finest fencing solutions to property owners across Australia and New Zealand. We are well-versed in each step of creating a beautiful property using post and rail fencing.
Based on our years of fencing experience, insights gained at successful client projects and learnings from expert fencing contractors, we will guide you through the process of building a front-facing post and rail fence, using timber.
In this blog, we’ll cover all the steps from selecting the right materials and tools to laying out the fence and securing the posts. You’ll know the mistakes to avoid and other helpful tips to make your project a success.
So, whether you’re a seasoned DIY enthusiast, a novice looking to tackle your first fencing project, or want to be aware of the process before reaching out to a Fencing Contractor, by the end you will have the information and inspiration you need to build a beautiful and functional post and rail fence.
Please note that while this article will guide you to start building your front-facing (not morticed) Post and Rail fence, it’s best to ask your supplier for a detailed installation guide and videos for your specific product.
3 Things to remember as you start building your Post and Rail Fence
- Like any fence, the wood in post and rail fencing will come into contact with soil and moisture, making it susceptible to decay. Therefore, it’s recommended that you use fence posts made of decay-resistant materials, such as hardwood or pressure-treated timber.
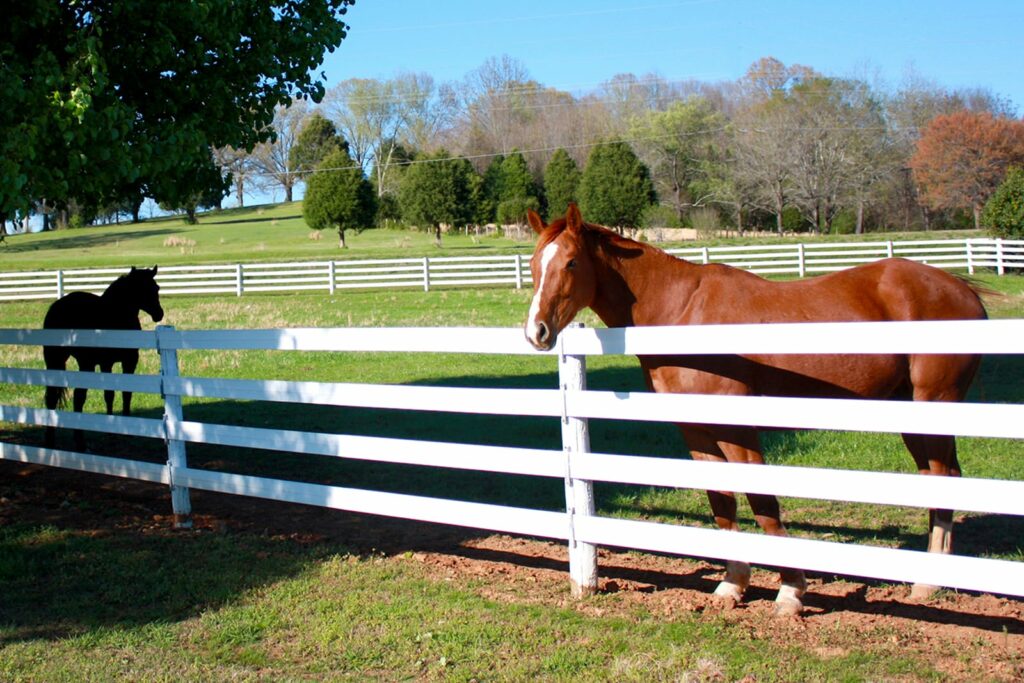
- Typically, post and rail fences serve decorative purposes and are used for boundary separation. However, they can also be utilised to secure animals. If you plan to use post and rail fencing to enclose livestock, it may be necessary to place the rails closer together to prevent animals from escaping. For instance, horses require a higher fence to prevent them from jumping over it, while sheep require rails that are closely spaced to prevent them from squeezing through the gaps.
- Every property is different with different fencing and design needs. Due to the various circumstances and differing opinions, there is no one-size-fits-all approach to fencing.
Tools required to build a Post and Rail Fence?
- Post-hole borer
- Spade
- Claw hammer
- Post Level
- Circular Saw
- Post driver
- Tape measure
- Pencil
- Maul hammer
- String line
- Marker pegs
- Garden hose or water supply
Materials required to build a Post and Rail fence.
- Fence posts
- Corner/End/Strainer posts
- Rail timber
- Concrete mix (cement and ballast or ready mixed)
- Additional preservative to treat cut timber ends
- Paint/Stain (Optional)
How to build a Post and Rail fence in 4 steps
Step 1: Plan and prepare
Measure the length of the fence and calculate the number of posts you need.
Decide where the ends will be, and where the corner posts will be placed and mark this area out with pegs.
- The spacing of your posts will depend on the length and thickness of your rails. If the rails are thin you may need to put the posts around 1.5m apart to prevent warping.
Step 2: Establish the line of the fence
Install the first and last fence posts to establish the line of the fence and these posts can then be used as sighting posts.
Tie a string line to the first and last fence post and ensure that it is pulled taut. The string line should be around 750mm above the ground.
- Once the line is correctly positioned, it can be used to mark the post centres along the intended fence line.
Step 3: Dig the Post Holes
Dig a hole for each post using a digging pole or post-hole borer. Helpful Tip – Dont dig more holes than you can fill in a day – an overnight rain can easily undo your hard work
Post holes need to be 1/3rd to 1 /2 the length of the height of the post above the ground.
When digging out the holes to the correct size and depth move the string line out of the way and then replace it afterwards.
To prolong the lifespan of the posts, first, add 6 inches of gravel to the hole.
Next, use the post to compress the gravel, leaving it in the hole.
Fill the hole with concrete.
Stop about 3 to 4 inches from the top.
Wiggle the post to remove any air gaps then use your level to make sure the post is straight and at the correct height.
Step 4: Trim the tops of the posts to a 30-degree angle
After the concrete has cured, for 48 hours to be safe, your next task will be to tame the posts to a uniform height. This will eliminate a site for water to pool and rot the wood.
Cut the corner posts to the desired overall height.
String a line between the corner posts, tacking it 1 inch from the top.
Ensure that the line follows the terrain fluidly. If it doesn’t, adjust the placement of the line on the intervening posts.
Make a mark where the line intersects each post.
- Use a circular saw to cut at an angle 1 inch above the mark.
Step 5: Attach the Rails
Attach the rails to the first and second posts. For the strongest fence, place your rails on the inside of the posts. This way, when your mare decides to scratch her back, she’s resisted by concrete-set posts rather than rails fastened only by hardware.
To ensure the fence is strong the joints should be staggered.
The rails need to be attached to the posts using exterior wood screws.
Use two screws at each end of the rail and one in the middle to ensure that it is securely fitted. Stay an inch away from the ends of the rail so the wood doesn’t split
Drive the screws into the wood at an angle to each other so that they are dovetailed. However, if you have installation documents, they may dictate a different screw/drill pattern.
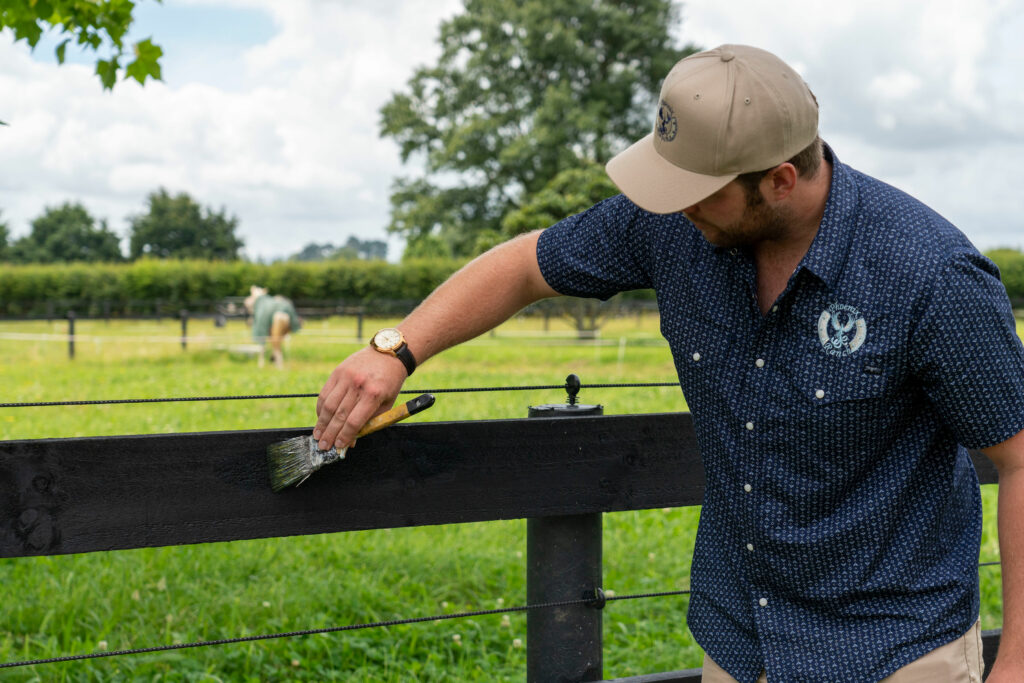
- Paint or stain your fence. The rule of thumb is to leave timber to dry for 6 weeks before applying premium-quality paint.
Carry on the above steps until your fence has been completed. It is advisable to paint the point of intersection where the rails join at their ends.
Are you ready to build a Post and Rail fence on your property?
Timber post and rail fence is a worthwhile investment for any property owner looking to enhance the appearance and security of their outdoor space. You wanted to know the step-by-step process to build a timber post and rail fence.
By following the steps outlined in this blog, you can build a sturdy and attractive fence that will last for many years to come. Remember to take your time during each step of the process, and feel free to seek advice or assistance from a professional if needed. It’ll be helpful to know how to find the best Fencing Contractor for your project.
With patience and attention to detail, you can create a beautiful fence that will add value and enjoyment to your property for generations. If you are interested to know or learn about alternate fencing solutions which are gaining popularity across Australia and New Zealand, speak to one of our fencing experts. We have a wide range of high-end fencing solutions that could help create a beautiful and safe property, that you’ll be proud of forever.